วันพุธที่ 22 พฤศจิกายน พ.ศ. 2566
วันจันทร์ที่ 13 พฤศจิกายน พ.ศ. 2566
SSL-CERT_Apache-Infor-wms
1. Edit file httpd-ssl.conf and config like a picture below

2. Insert line like a picture below

3. Copy ssl file to folder ssl

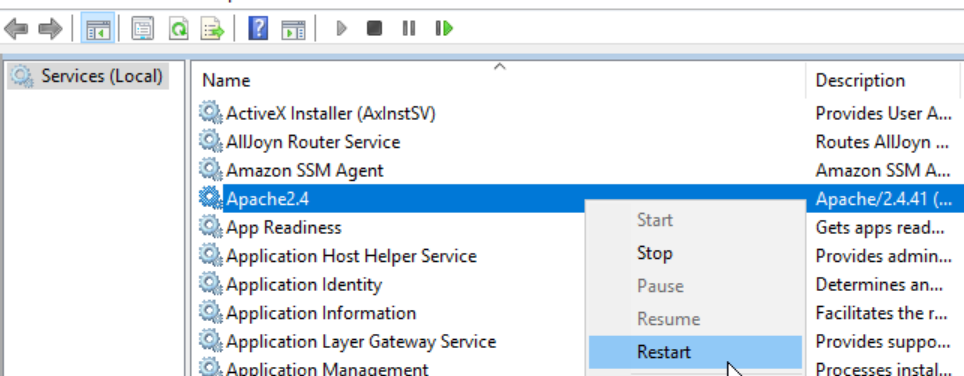
5. Run services.msc and restart apache2.4
SSL-CERT_Apache-Linux
1.Find apache ssl location
> find /etc/apache2/ -name default-ssl.conf
> grep -i -r "SSLCertificateFile" /etc/apache2/sites-enabled/default-ssl.conf

2. Upload certificate type apache file to path
3. Stop apache service
> apachectl stop
4. Check and start service
SSL-CERT_Apache-xampp
1. Click stop

2. Edit config
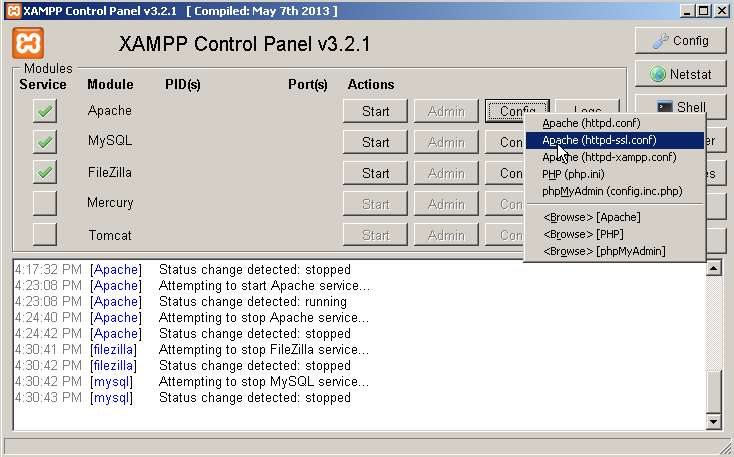
3. enable config

4.
ไฟล์ใบรับรองกลาง Intermediate Certificate Authority หรือมักเรียกกันว่า CA bundle
ไฟล์ Server Certificate: ไฟล์ server.crt
ไฟล์ Server Private Key
ไฟล์ Server Certificate Chain ไฟล์ server-ca.crt
วันพุธที่ 8 พฤศจิกายน พ.ศ. 2566
SSL-Certificate_Windows 2003 (32bit)
1. Run 'mmc'

2. Click add-remove snap-in

3. Add "Certificate and" select "computer account"

4. Click next

5. Click OK

6. Right-Click "personal" folder and select "import"

7. Select "Pfx" format and brow to file

8. Enter Certificate password

9. Finish

Go to IIS
1. Right-Click default and select Properties

2. Select "Server Certificate"

3. Click "Replace the current certificate"

4. Select the last certificate that you import

5.Click next

6. Click Finish

7. Run "cmd" iisreset

วันจันทร์ที่ 6 พฤศจิกายน พ.ศ. 2566
SSL-Certificate-Create
How to import
6. K2
7. citibank-IR
How to create and convert to apache format
1. Create the .pfx file using https://www.sslshopper.com/ssl-converter.html

2. Export apache format

3. Select this option

4. Finish
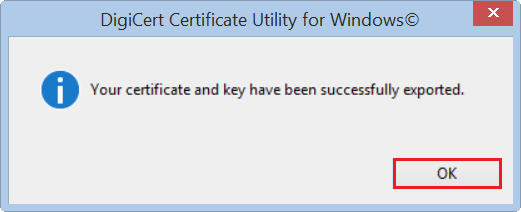
2. Create the .pfx file using Digicert
3.Create the .pfx file using OpenSSL
4. Create the .pfx file using MMC
สมัครสมาชิก:
ความคิดเห็น (Atom)